

Magento 2 Design Email Header_template
Header Template
After completing the configuration, the email header template includes your logo that is linked to your store. If you have a basic knowledge of HTML, you can easily use predefined variables to add store contact information to the header.
 Email Templates
Step 1. Load the Default Template
-
On the Admin sidebar, go to Marketing > Communications > Email Templates.
-
Click Add New Template.
-
In the Load default template section, click the Template selector and choose
Magento_Email>Header.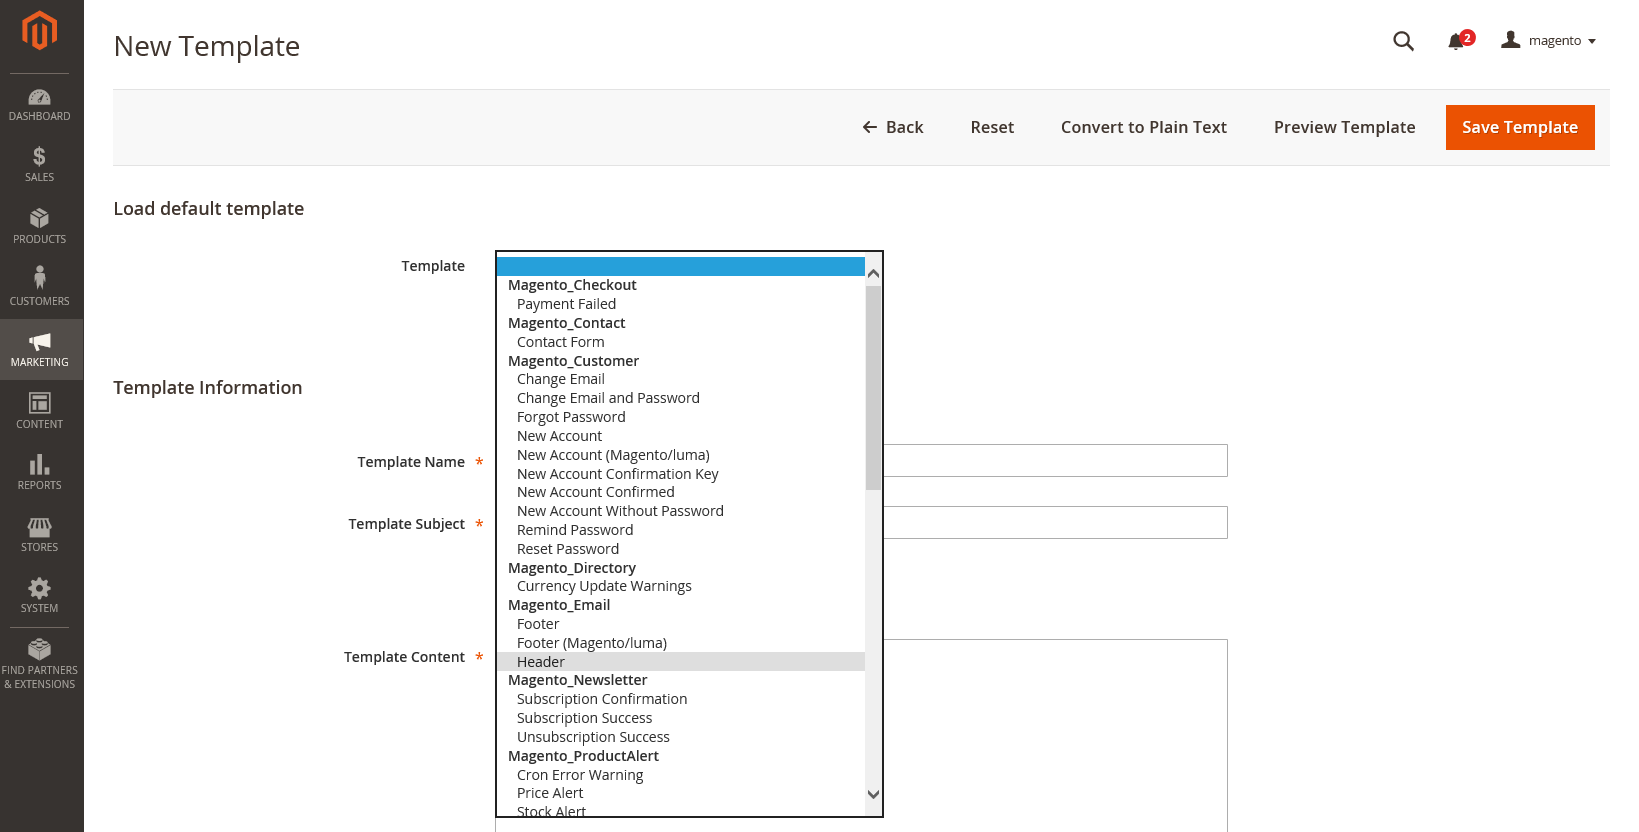 Default Header Template
 -
Click Load Template.
The HTML code and variables from the template appear in the form.
Step 2. Customize the Template
-
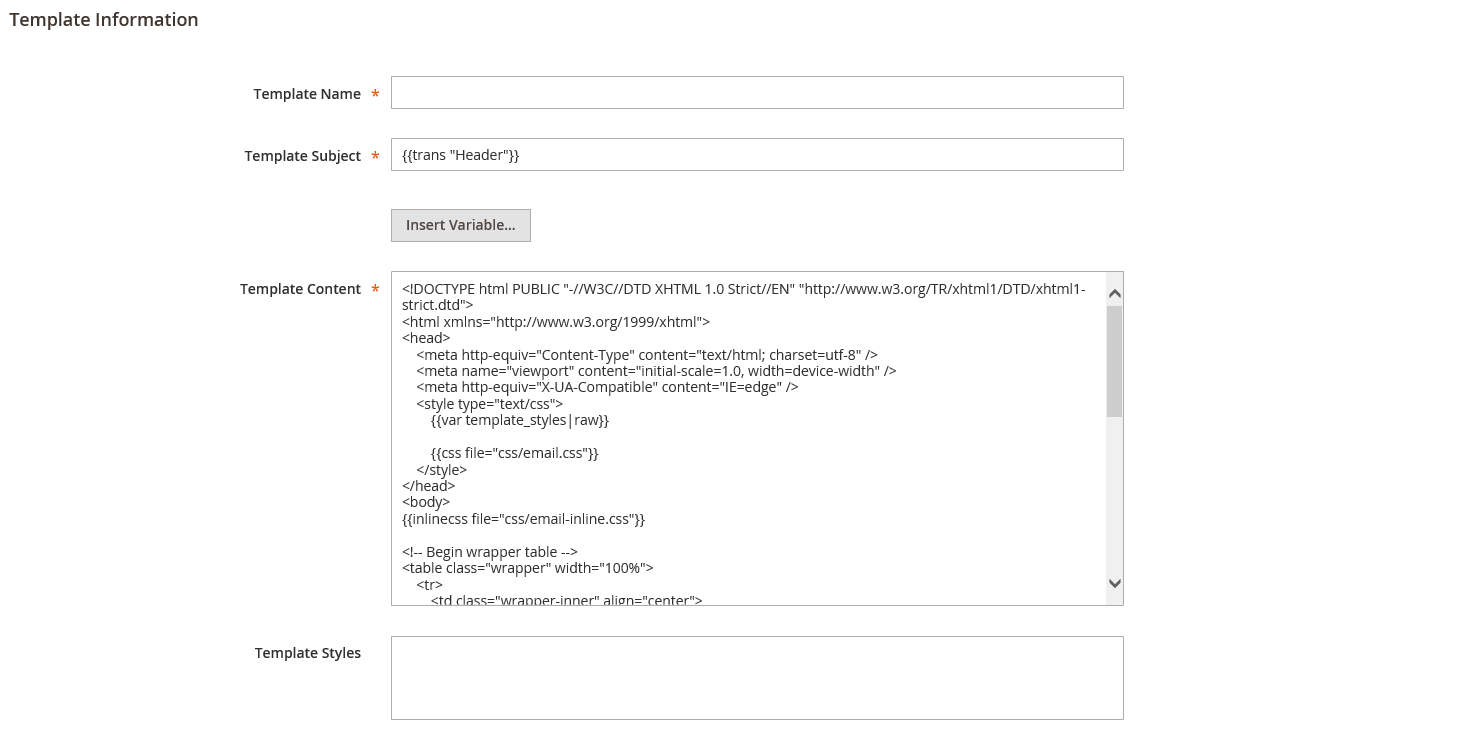
Enter the Template Name for your custom header.
-
Enter a Template Subject to help organize the templates.
In the grid, the list of templates can be sorted and filtered by the Subject column.
 Header Template Information
 -
In the Template Content box, modify the HTML as needed.
When working in the template code, be careful not to overwrite anything that is enclosed in double braces.
-
To insert a variable, position the cursor in the code where you want to place the variable and click Insert Variable.
-
Choose the variable that you want to insert.
When a variable is selected, a markup tag for the variable is inserted in the code.
 Insert Variable
 Although the Store Contact variables are the ones most often included in the header, you can enter the code for any system or custom variable directly into the template.
-
If you need to make any CSS declarations, enter the styles in the Template Styles box.
-
When you are ready to review your work, click Preview Template. Then, make adjustments to the template as needed.
-
When complete, click Save Template.
Your custom header now appears in the list of available Email templates.
Step 3. Update the Configuration
-
On the Admin sidebar, go to Content > Design > Configuration.
-
In the grid, find the store view that you want to configure and click Edit in the Action column.
-
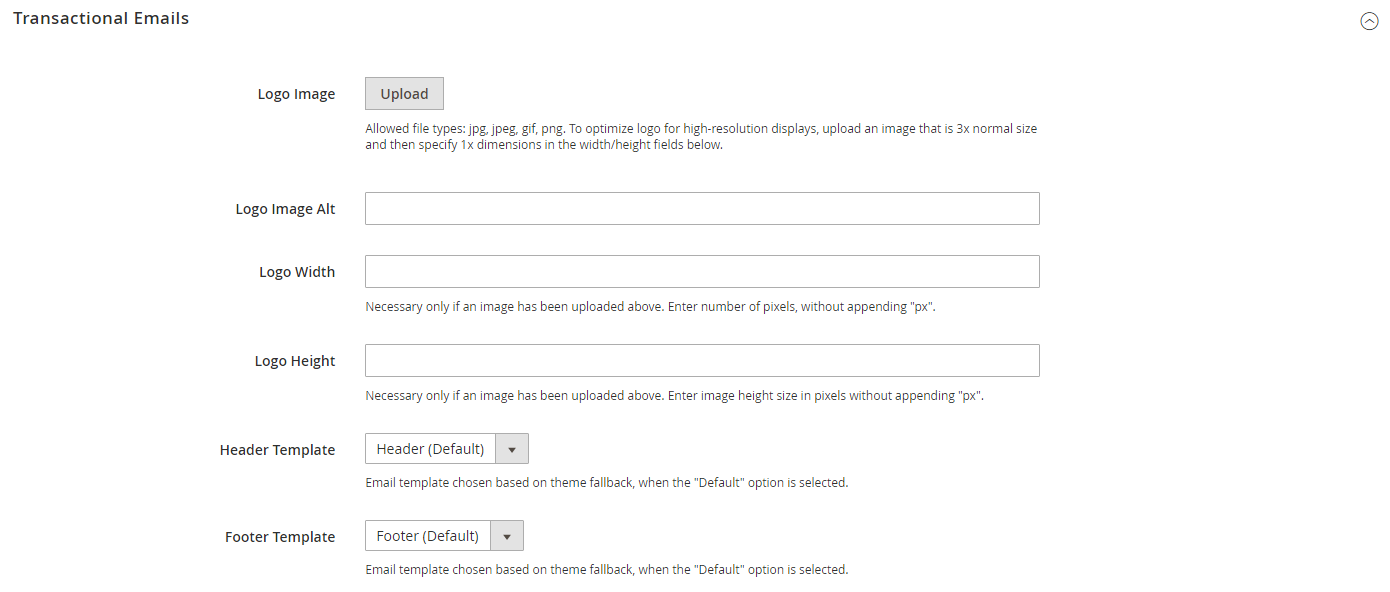
Scroll down and expand
 the Transactional Emails section.
 -
Choose the Header Template that is used as the default for email notifications.
-
When complete, click Save Config.
 Transactional Emails
Field Descriptions
Load Default Template
| Template | Lists the selection of available templates and identifies the template to be customized. |
Template Information
| Template Name | The name of your custom template. |
| Insert Variable | Inserts a Store Contact Information variable into the template at the cursor location. |
| Template Subject | The Template Subject appears in the Subject column, and can be used to sort and filter the templates in the list. |
| Template Content | The content of the template in HTML. |
| Template Styles | Any CSS style declarations that are needed to format the template header can be entered in the Template Styles box. |
Magento 2 Design Email Header_template
Source: https://docs.magento.com/user-guide/marketing/email-template-header.html
Posted by: enochsfark1980.blogspot.com
0 Response to "Magento 2 Design Email Header_template"
Post a Comment